
Gardens start with soil
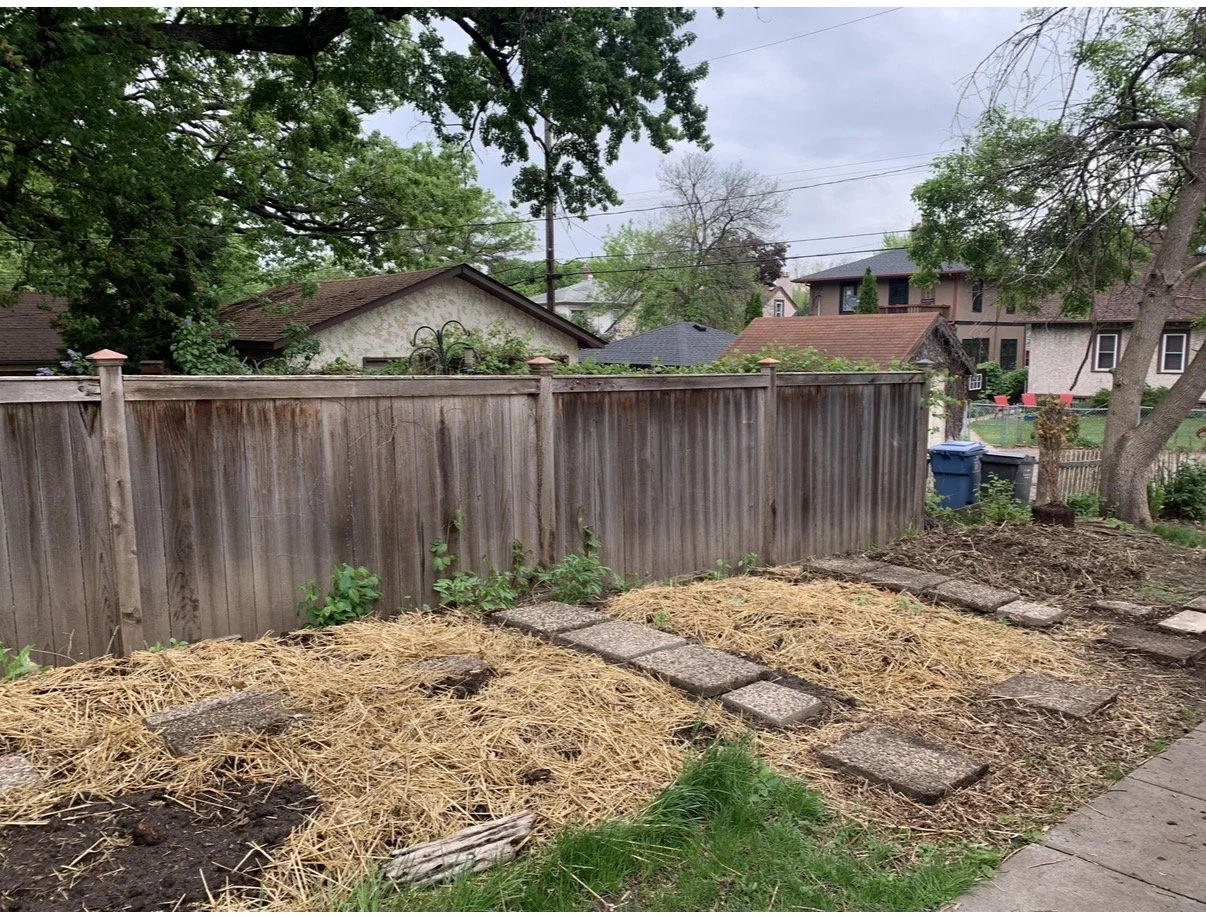
Remember this garden? It’s currently covered in snow but ready to be revived five years later. Back in 2021 I planted a handful of trees. The yard isn’t all that big, this is a house right in the city, but I wanted to create a woodsy natural foundation for the space. I planted three Birch in the backyard and a handful of Juniper trees and shrubs plus a couple of flowering trees. I’m so glad I did! They really grounded the space, gave it personality and speak to the nature of this region. This Spring I’ll be adding in even more trees and of course growing tons of food.
Below I’ll review the No-Till soil building methods I use to create the foundation for bountiful gardens.
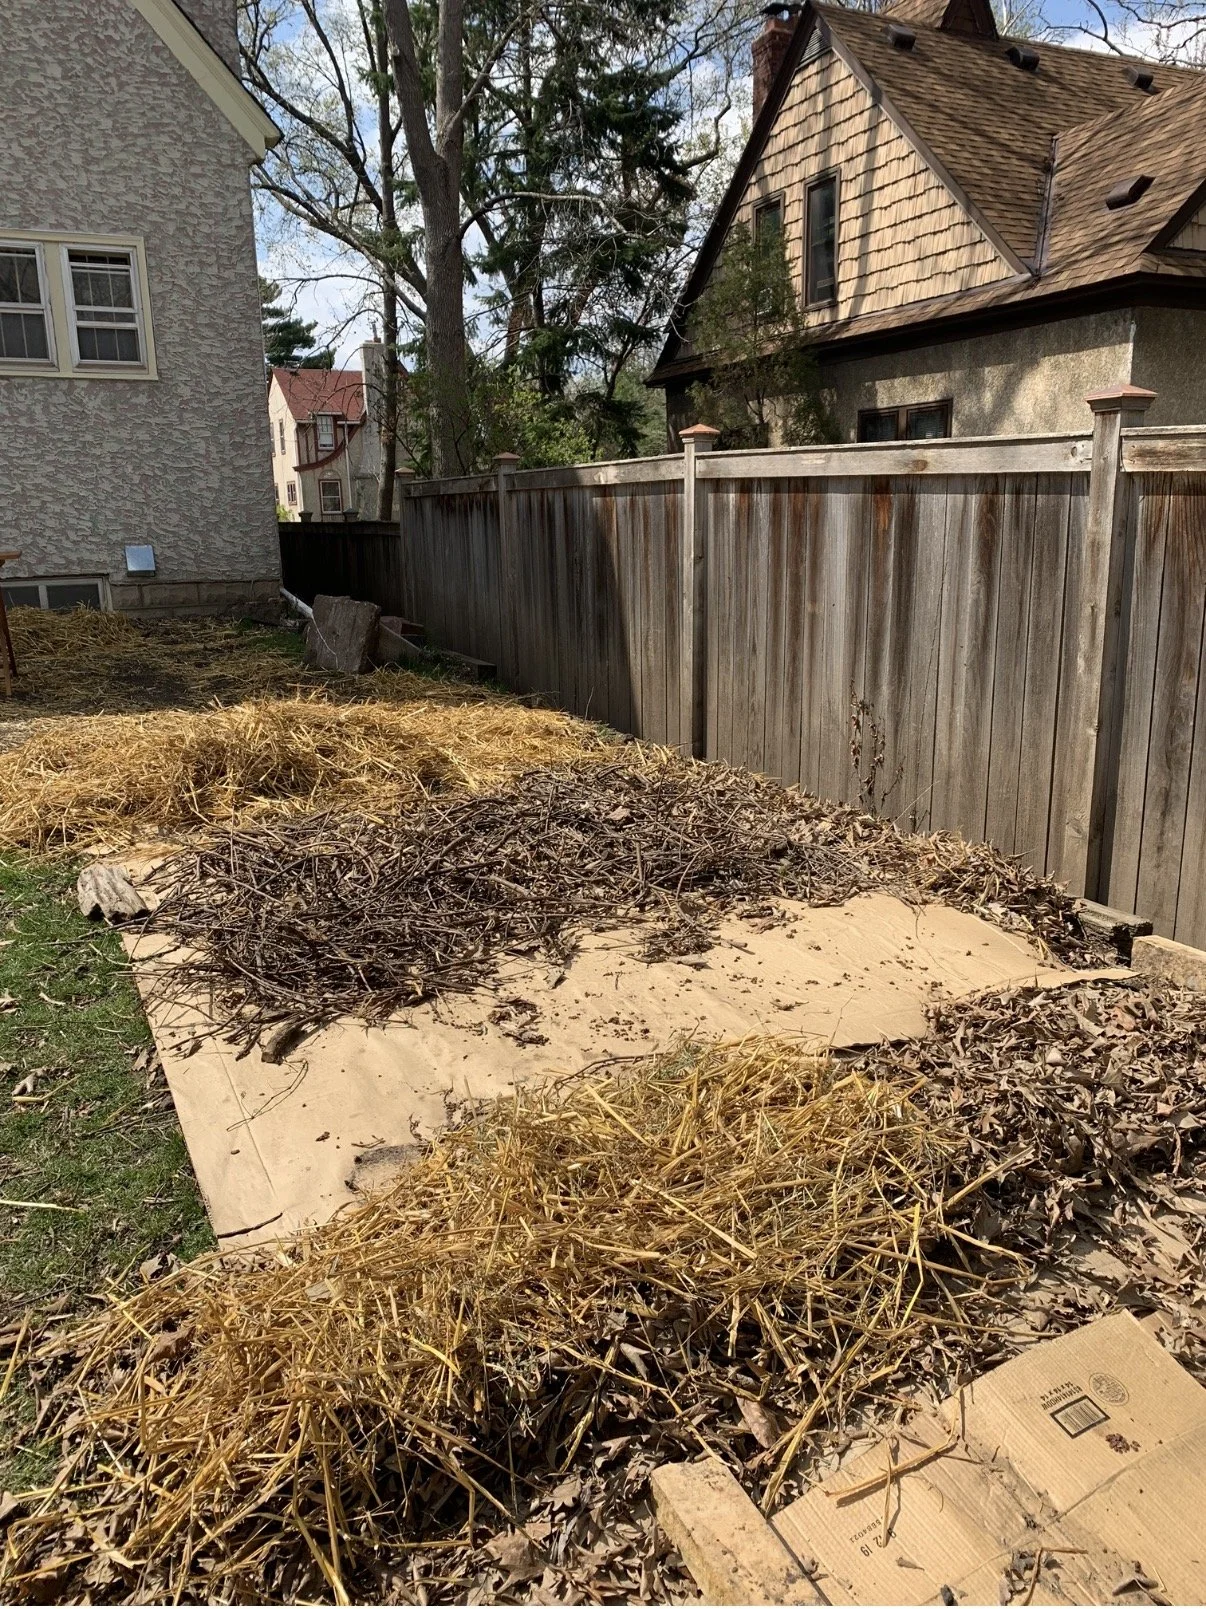
Above you see sheets of cardboard being topped with layers of carbon and nitrogen (only carbon pictured here but weeds & fresh cut grass are layered on)
Lasagna mulching is simply sheet mulching with more intentional layers. Any sheet mulching, combined with organic plant material and time will eventually turn into fertile soil. But you can speed this process up with a good mix of nitrogen and carbon (greens and browns).
Start with laying down your cardboard (remove all tape, staples etc). Prior to laying your cardboard down simply chop and drop any weeds in place (with a few exceptions of particularly invasive types which you may want to dig out and trash). These chopped and dropped weeds will turn into a great nitrogen source for the soil below your cardboard - coaxing the worms and beneficial insects up toward the cardboard and loosening the soil in the process. If your ground is particularly hard and impenetrable you can use your shovel to quickly open up the ground here and there. You are just cracking the soil open a bit, not digging holes. Most soil won’t need this step. Be sure to overlap your cardboard so there are no gaps for weeds or grass to sneak through. I tend to overlap by about 6 inches for good coverage.
When I sheet mulch, I always start with yard clean up. I make piles of browns, your carbon heavy material like leaves and sticks & branches (things that are brown! or more fibrous/tough and slower to break down materials) and greens, your nitrogen heavy materials, grass, weeds, plants that are quicker to break down.
These piles will be the foundation of your future soil. While it’s not necessary, I almost always add in some composted manure. Horse manure is one of my particular favorites but (horse, steer, chicken, goat, rabbit) are all great. Rabbit manure is a “cold compost” and the only one you can apply directly to the soil without having first being composted.
There are almost always horse farms outside of the cities so I usually contact them and drive out to load up on the compost.
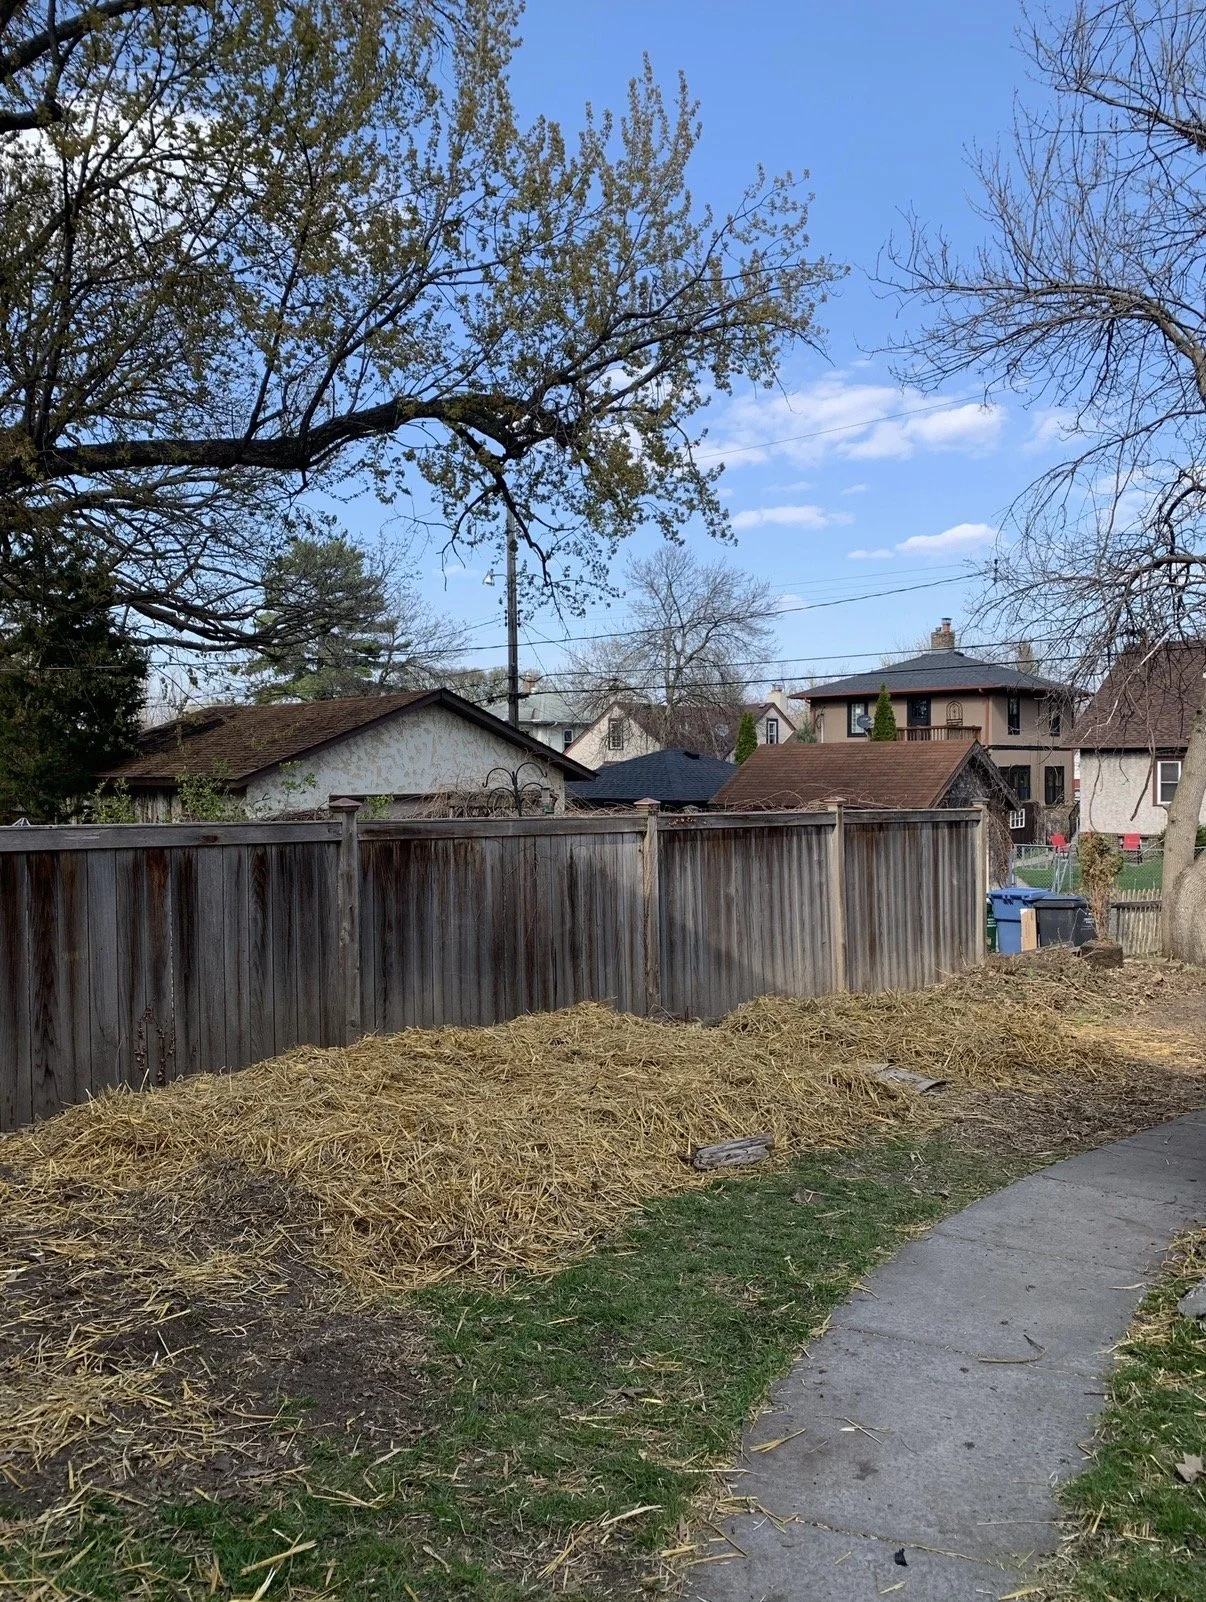
Another material I use on my food gardens is organic straw (not hay!). It’s totally not necessary but I like the way it breaks down (as a faster carbon breakdown) and I like to top my beds with it as a protective mulch that easily lets water through to the plant’s roots. I’ve just become accustomed to using it over the years and probably always will.
With shrubs and trees in a landscaping capacity I use other materials like forest mulch to top the soil, but for food I use straw.
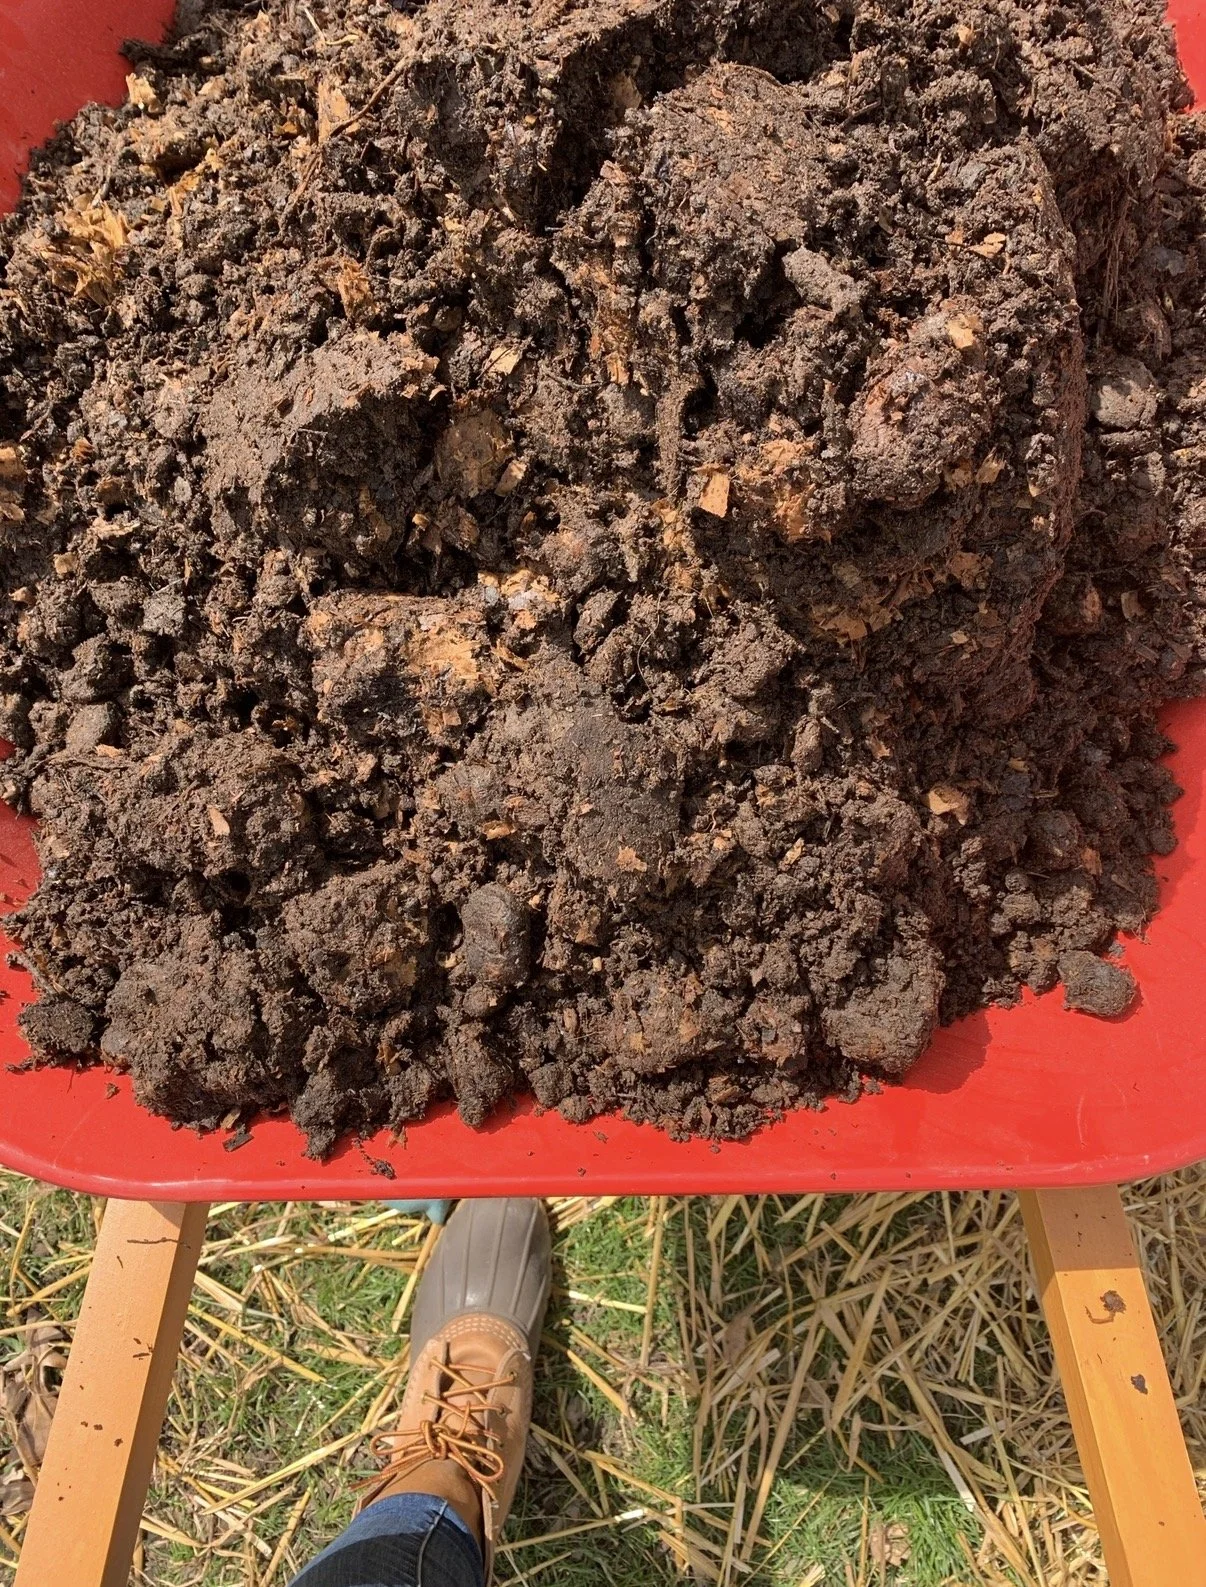
Composted horse manure = garden gold.

A layer of nitrogen heavy composted horse manure on top of a carbon layer of straw.
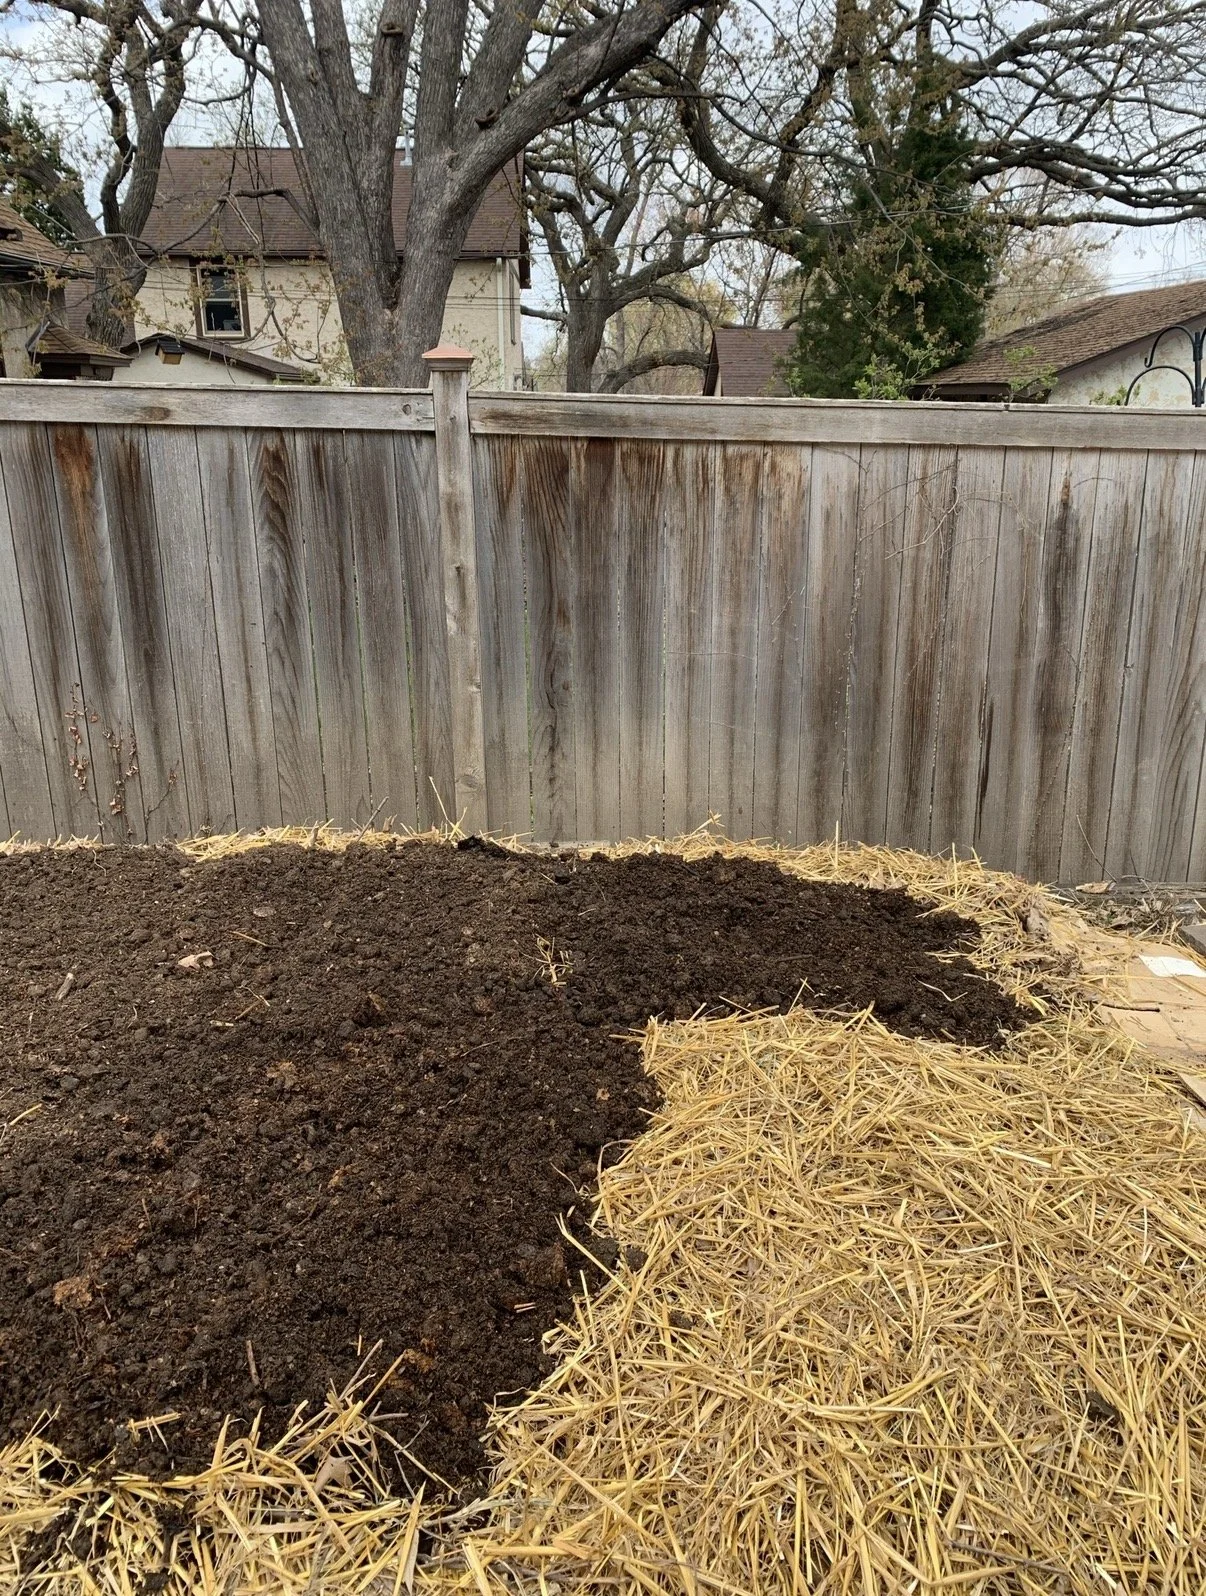
Browns and greens. Here the compost is the “green”
When you’ve completed your layers top with a light layer of mulch like straw, forest mulch or chopped leaves. If you live in an area with regular rain you can now just sit back and let time do it’s thing. If you live in an especially arid area you will want to water the layers as you go and give your beds additional occasional water as they compost in place. You will be rewarded long term with soil that stores water beautifully, resulting in drastically reduced watering needs going forward.
Don’t forget to plan in where and how you will move through your garden. You don’t want to be stepping all over the soil and compacting it. So map out where you will wade in for harvesting!
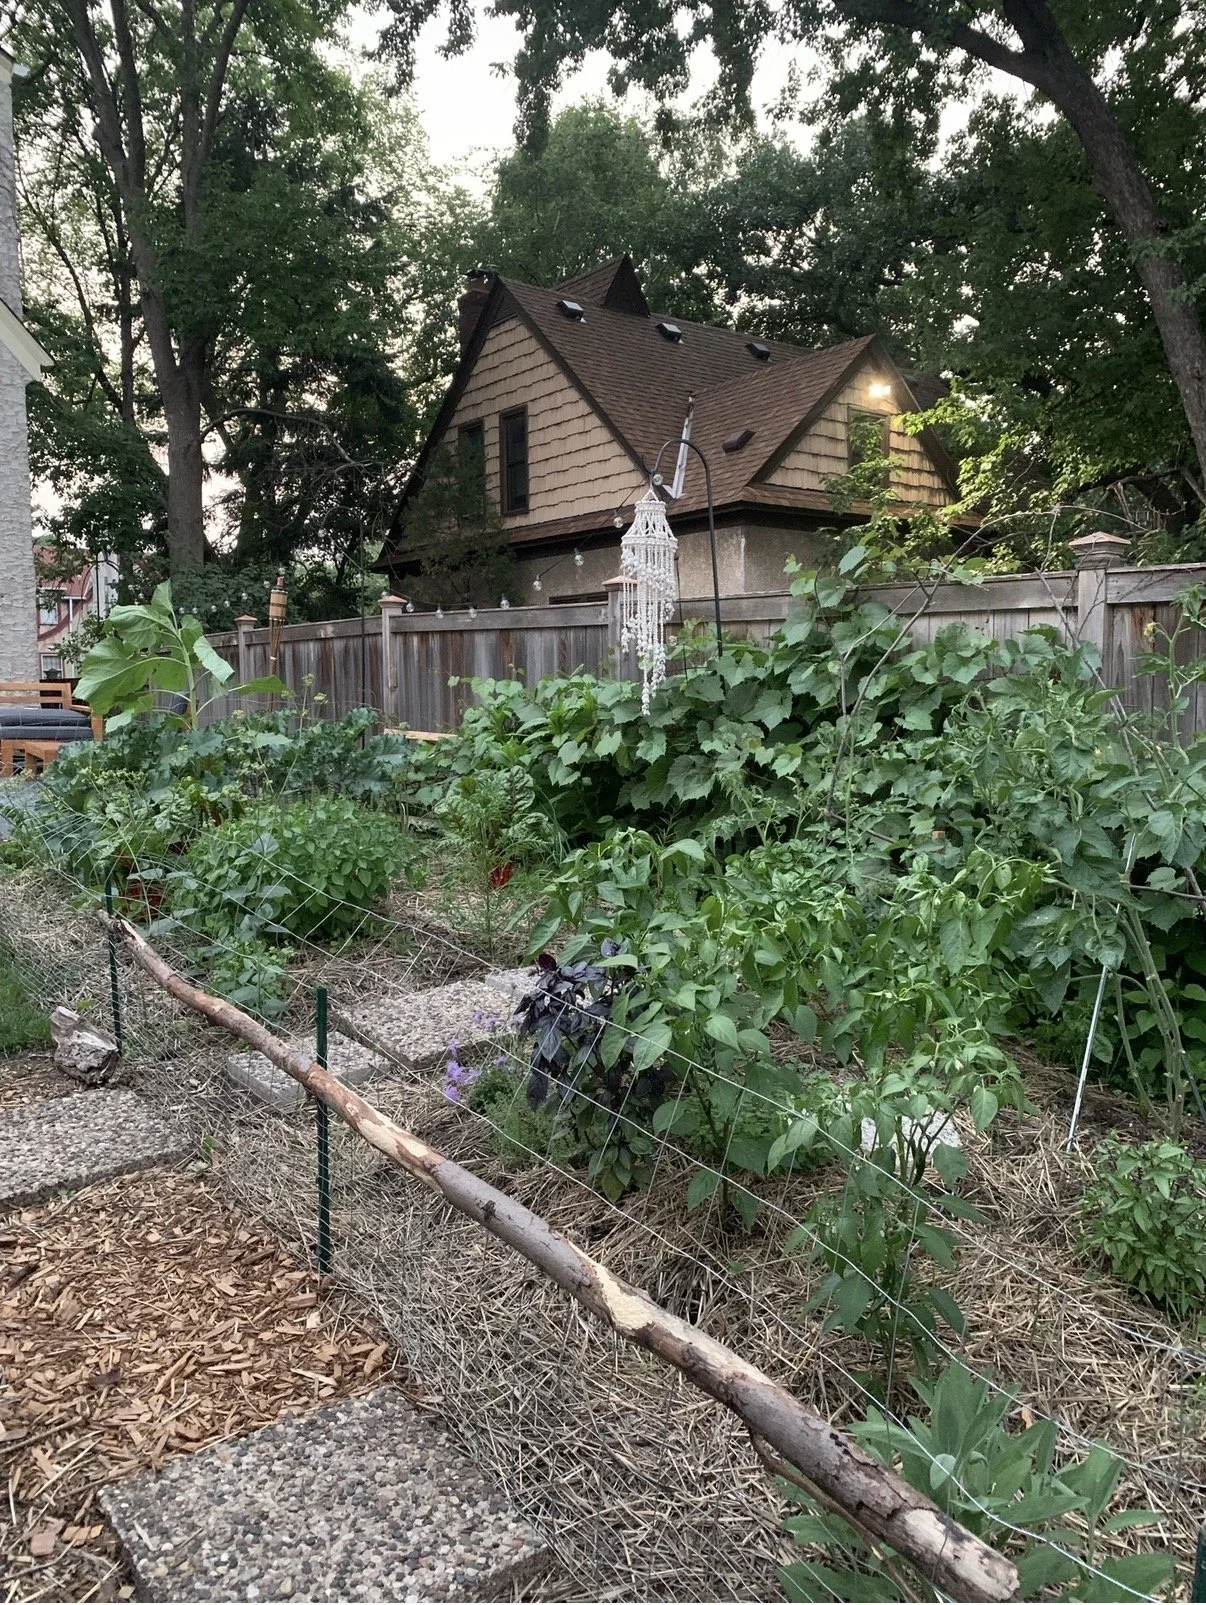
New growth in the healthy soil! In this location rabbits are abundant so you do need to plan to keep them out. I used a quick temporary fix here with a wire fence. To keep the bunnies out go at least 2 feet high.
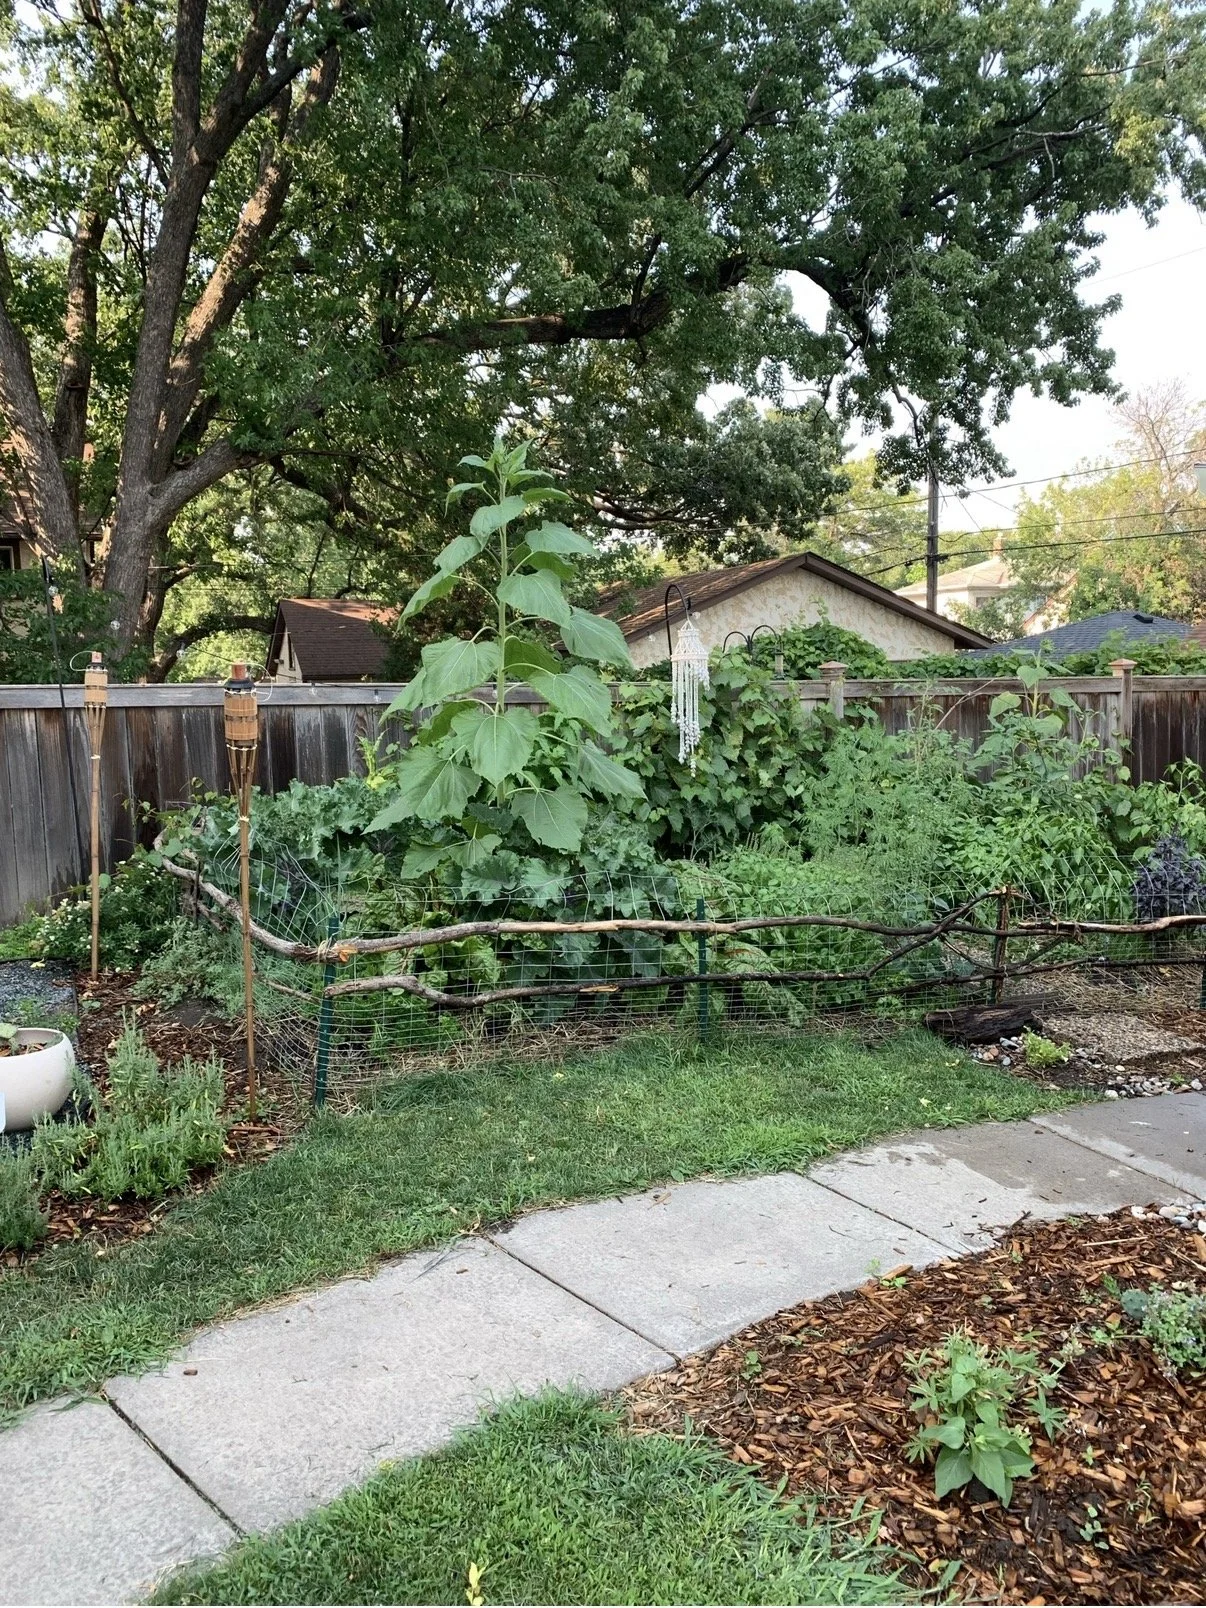
Everything growing fast and healthy here.

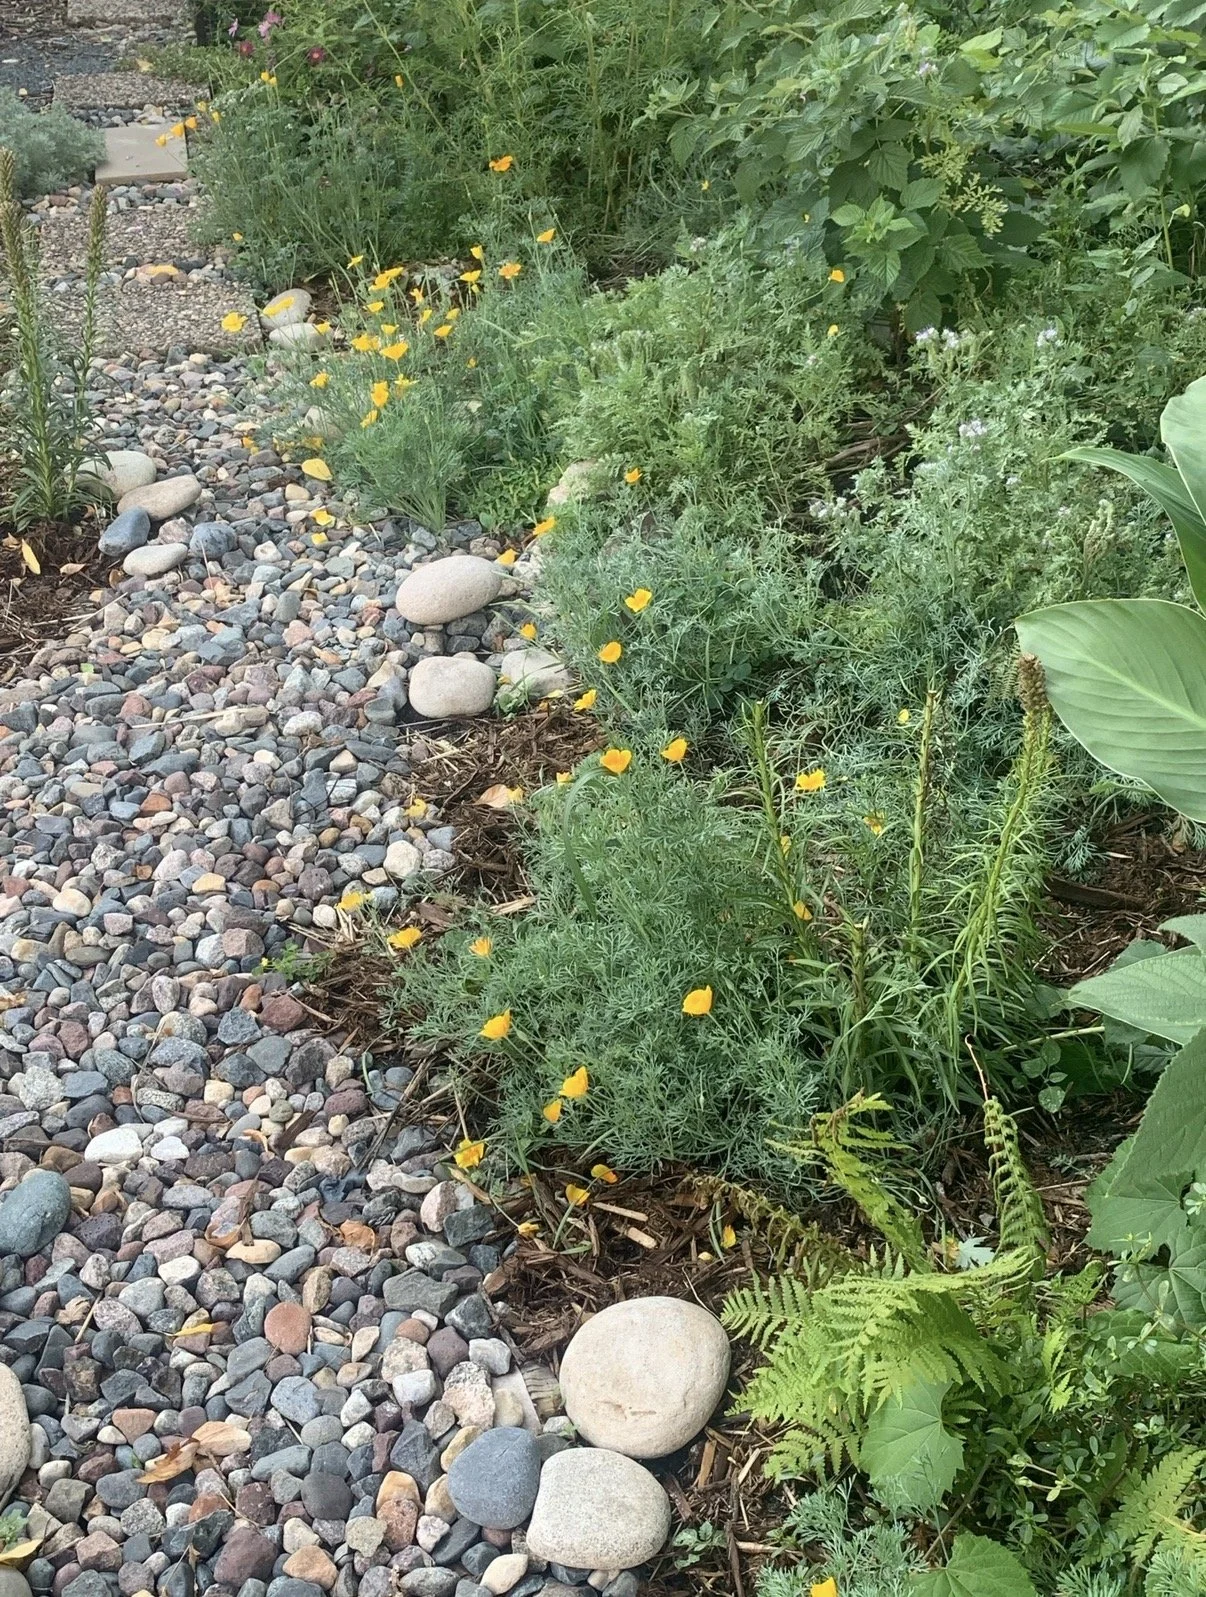
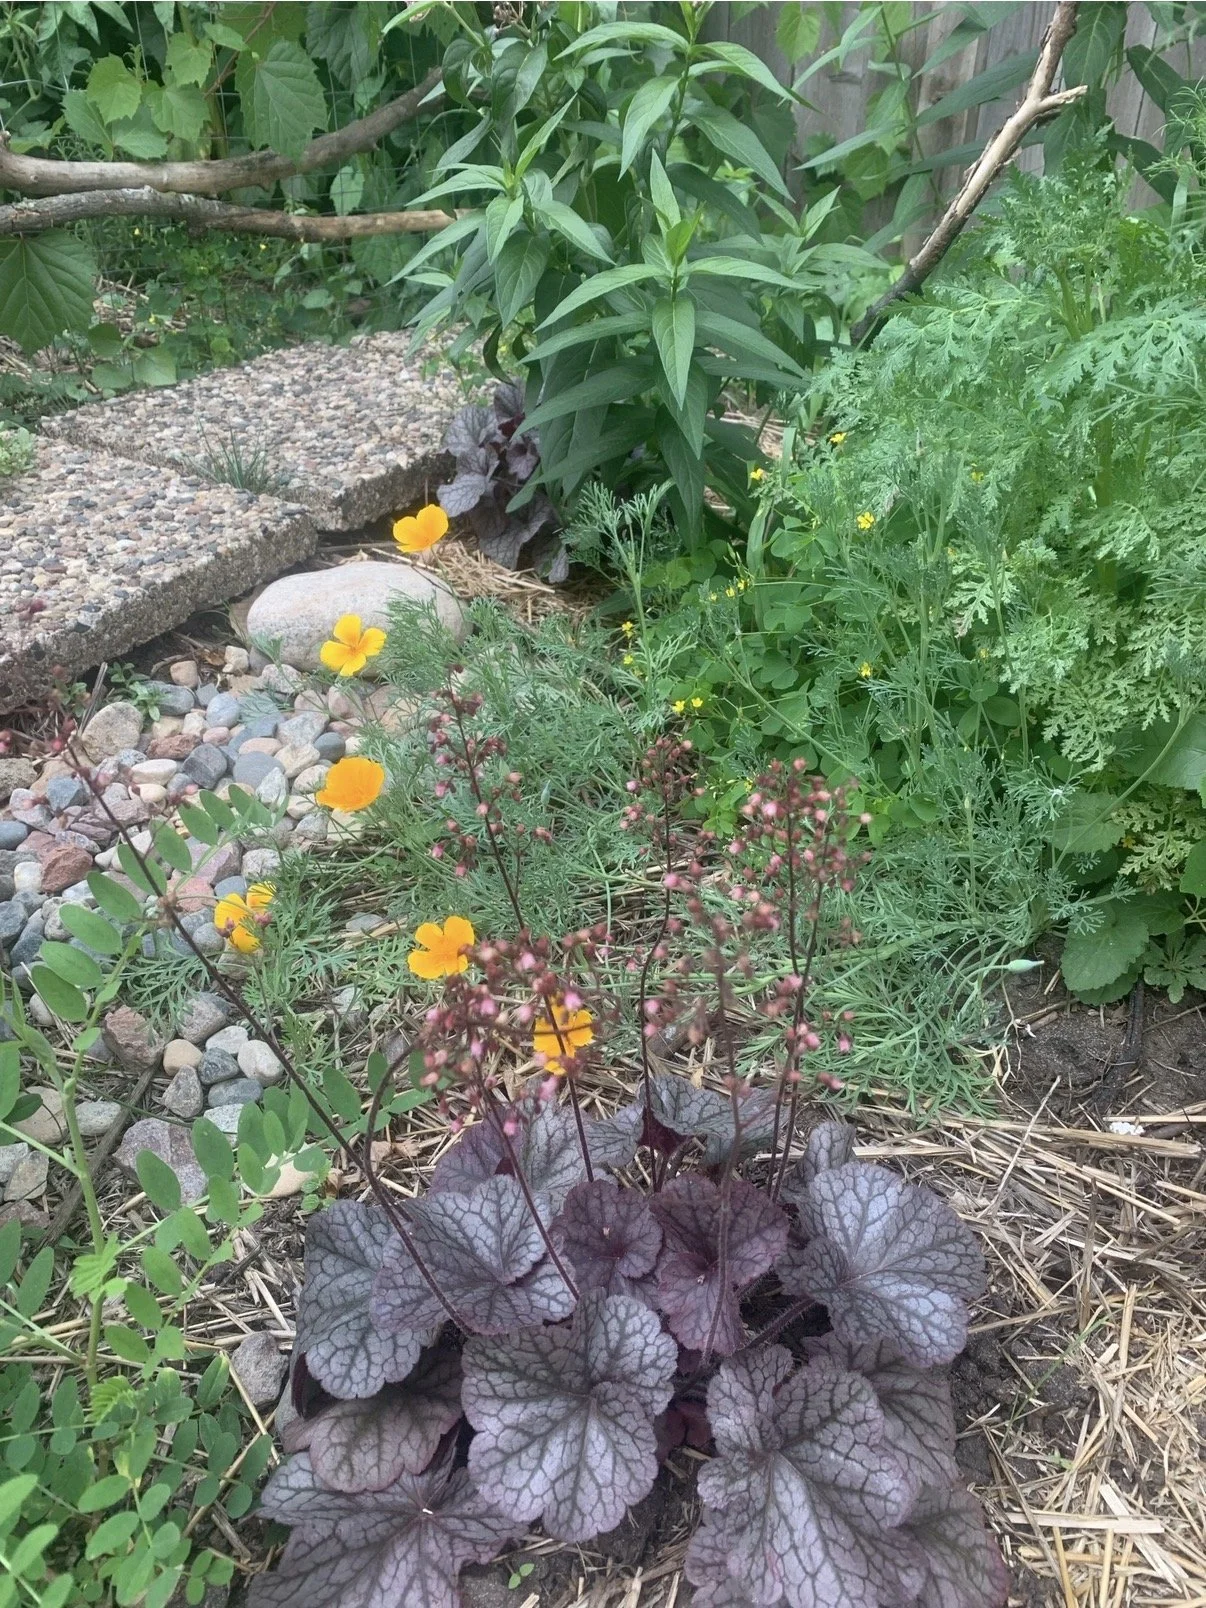
Rain garden section outside of the food garden built upon much scruffier sheet mulched beds.

You can see here, that I topped this area with forest mulch.
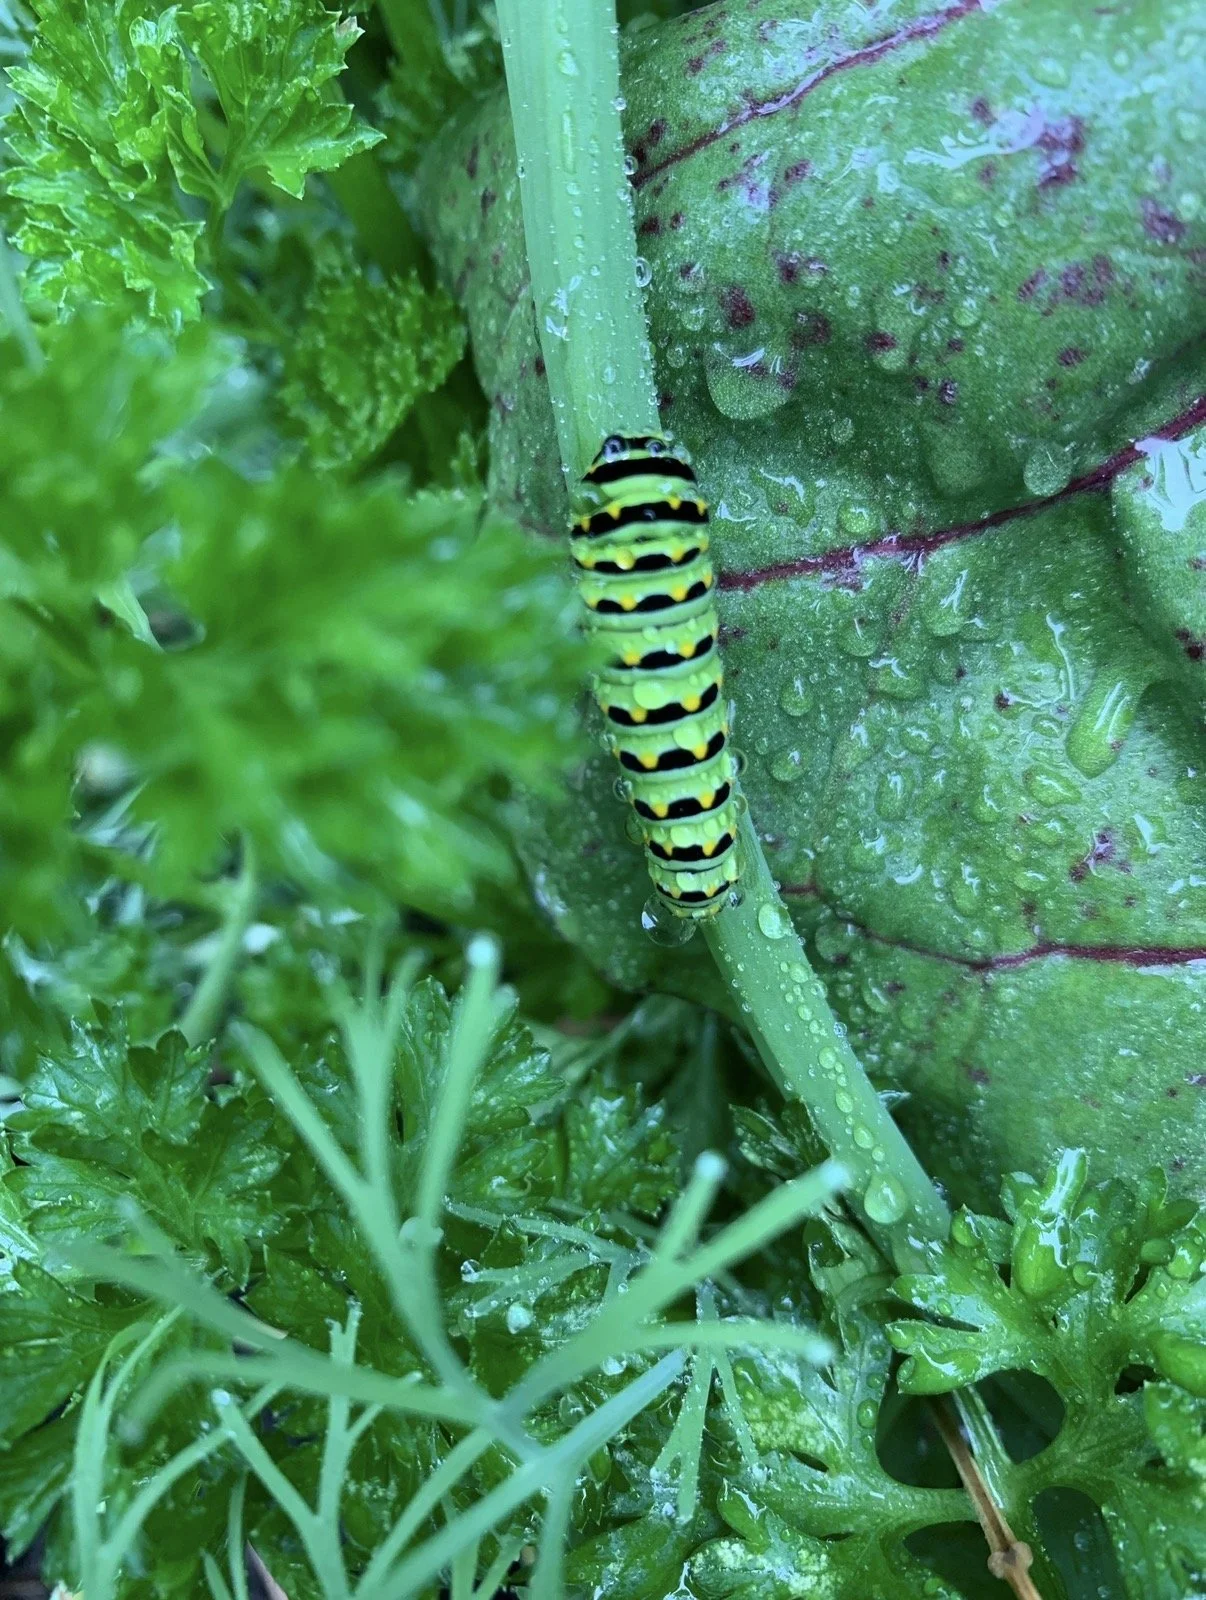
Swallowtail Butterfly caterpillar

Off to the right you can see one of the Birch I planted. I planted three for a small grove feeling. And on the left a curvy patio I made with an old tarp I found in the garage and some leftover edging my neighbors gave me. I decorated the wire fencing with downed branches I found on walks through the park and neighborhood.
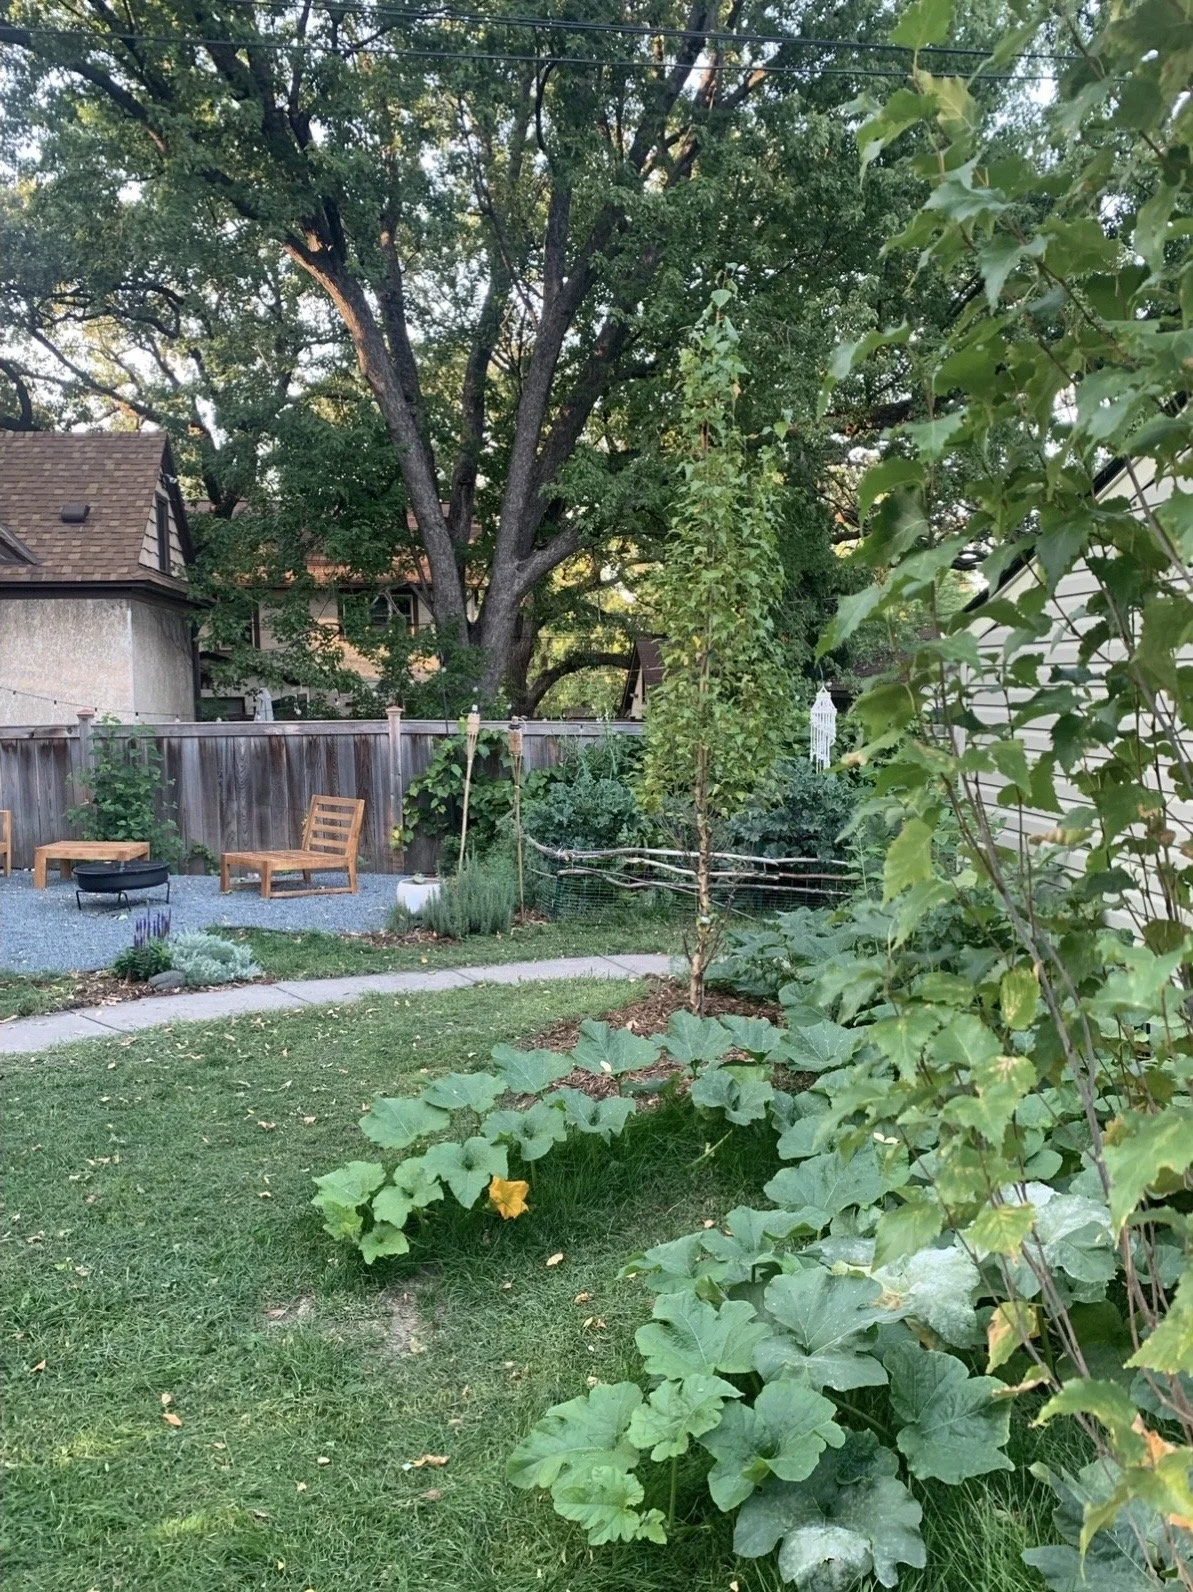
I wanted to grow squash but not take up all my garden space (squash are spawlers!) so I decided to grow it along the edges of the yard by the garage. It was very successful, tons and tons of squash!
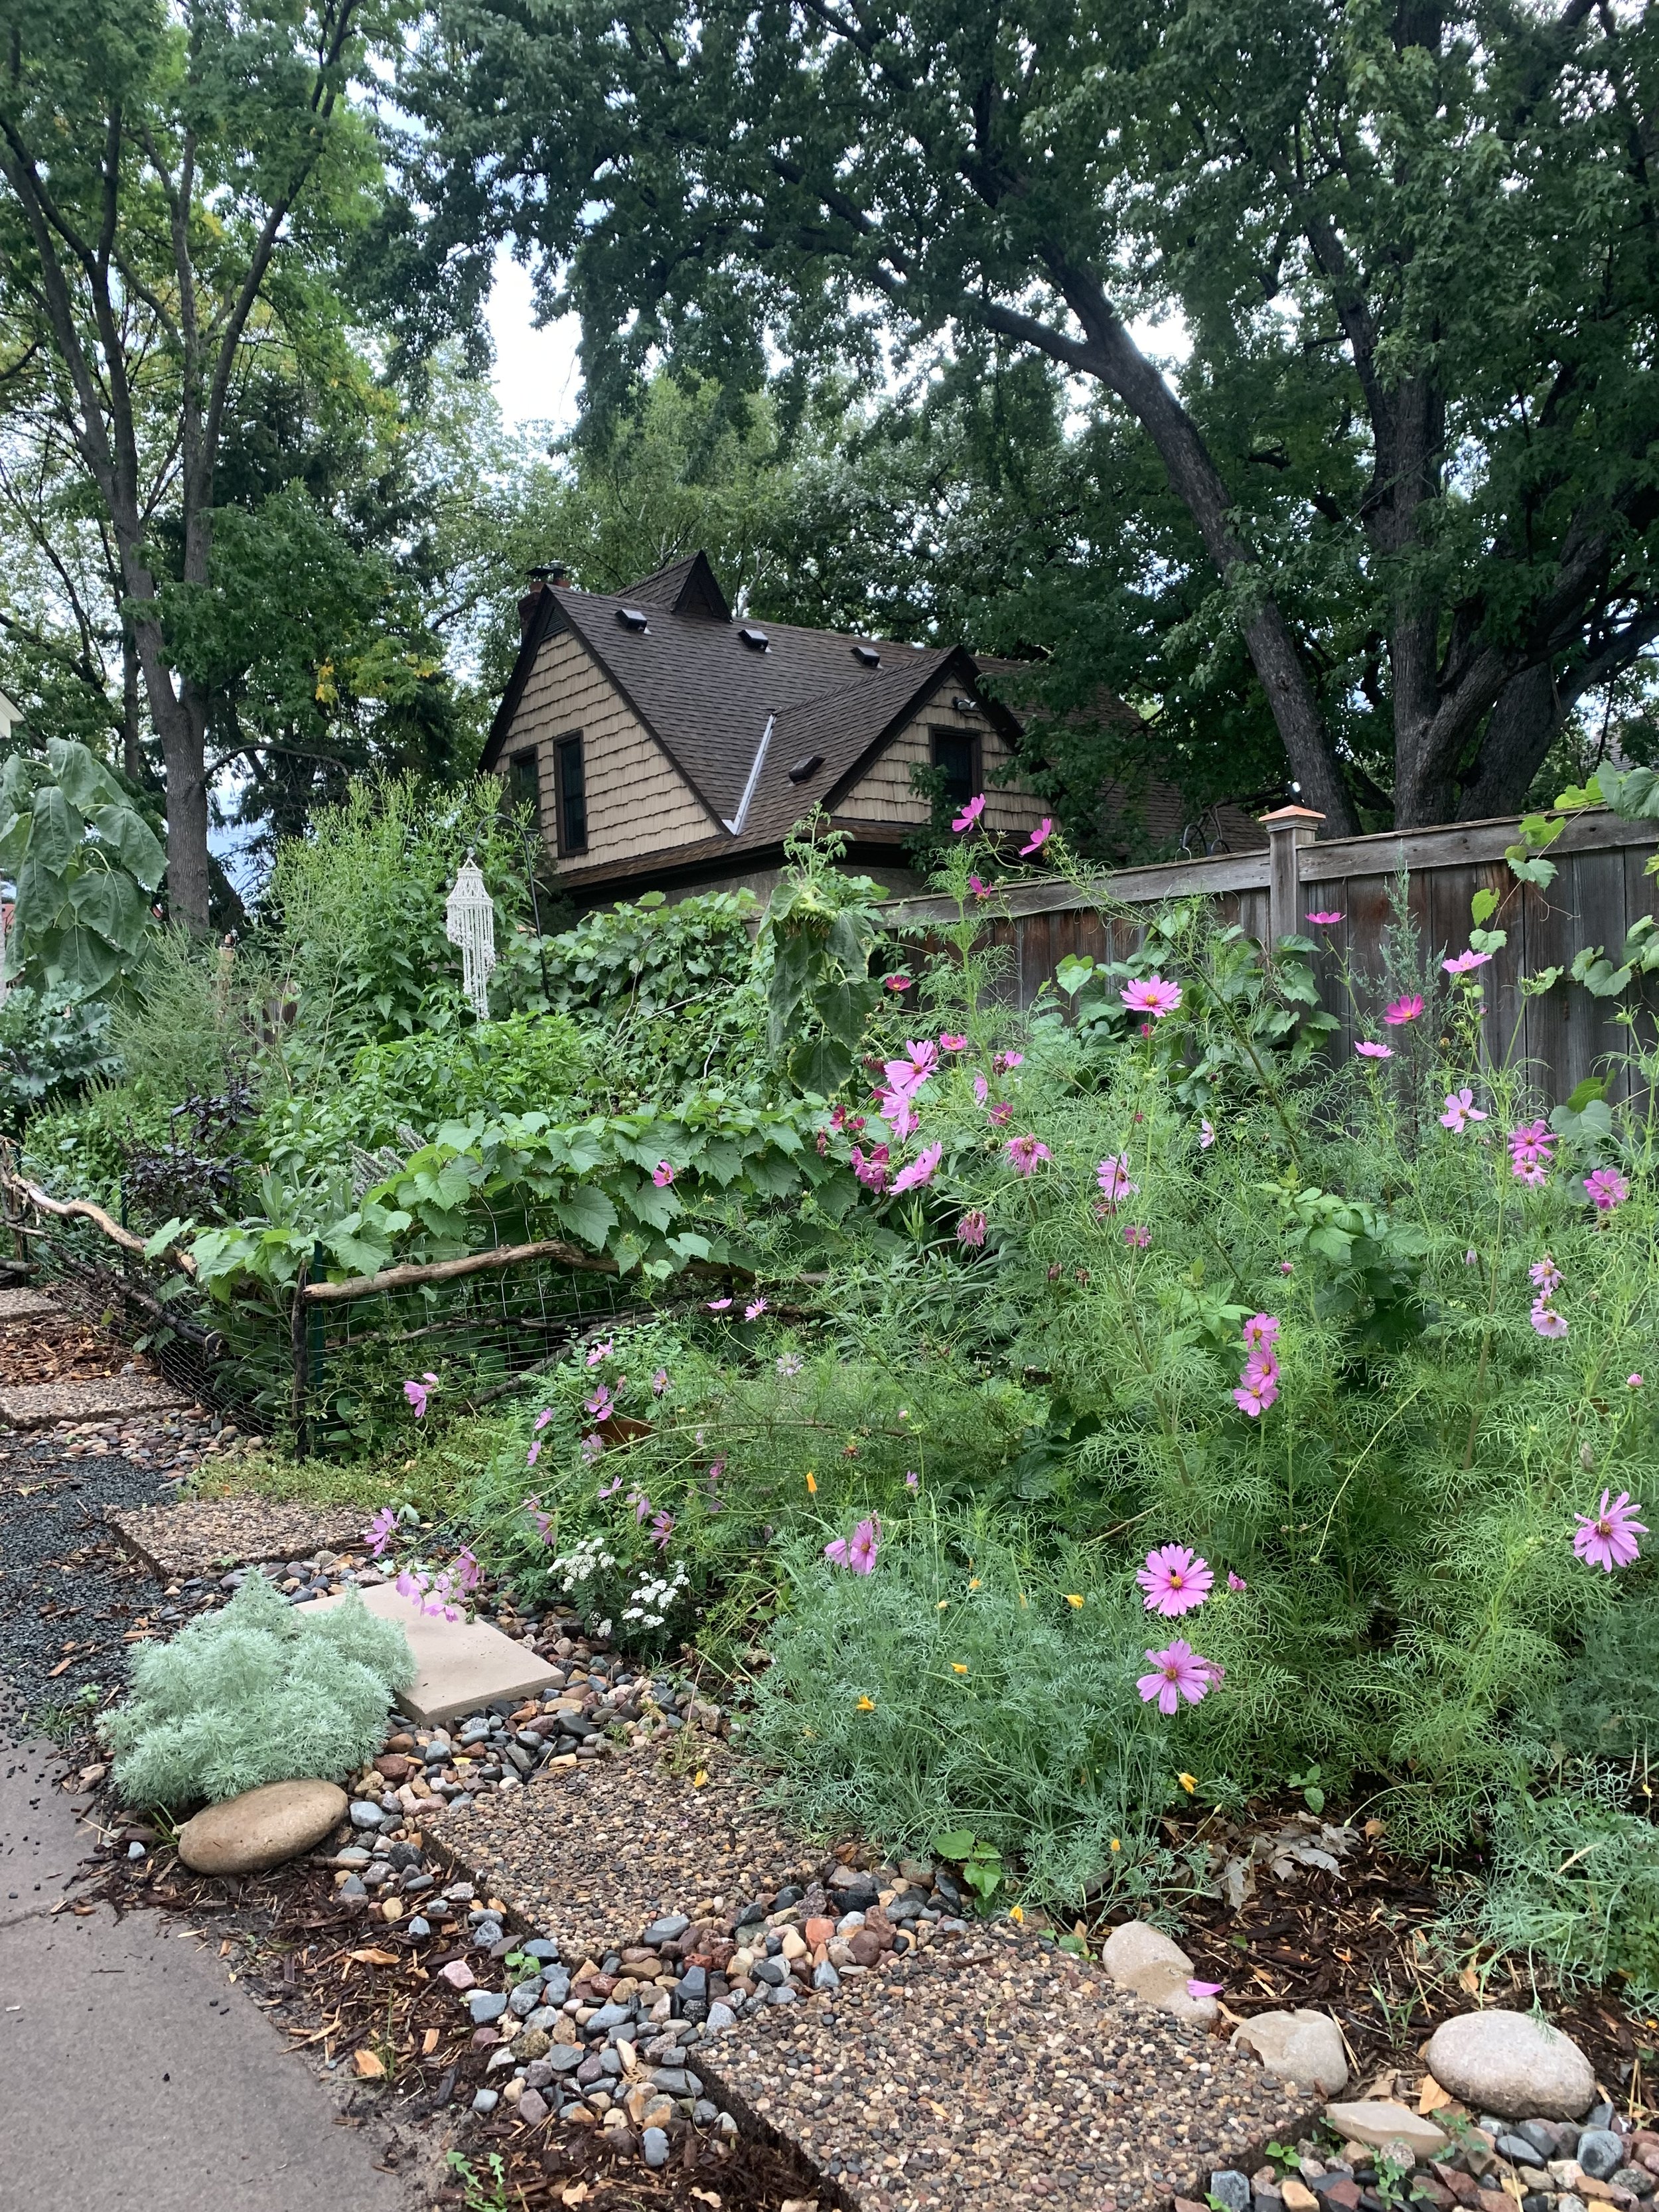
Here you see a very thriving garden built upon robust, healthy No-Till soil. This is the difference that three months can make. The first photo at the top of the post, of lasagna mulch being laid down in June, to this photo of the abundant garden in late August.
I have a work around for planting into beds that are actively composting in place that I’ve been using successfully for years. It speeds things up and I’ll talk about that another time!